
Indoor Planter
(30-45 minute craft)

Supplies:
~Any sort of Jar (I used a salsa jar)
~Paper: Scrapbook paper, photo, collage of photos, childs art, etc
~Scissors, edge cutter
~Mod Podge
~Hot Glue gun
~Rocks or gravel (pre washed)
~Soil or dirt
~Seeds


Measure paper for cutting, about a 1/4" from where jar starts to curve in, do this on BOTH top and bottom of jar. Make piece large enough to cover a large portion of middle of jar. (in my case I had to make it large enough to cover the sticky residue from Salsa label)
2. Hot glue one edge of paper to jar. (make sure to wrap paper around ,BEFORE pressing down to glue, to make sure both ends of piece will line up.)
3. Hot glue along edge of paper to "seal" the seem. This is not the other end of paper. It is the top and bottom edge of paper. (I tried a few different ways, but most effective was glueing on the very edge on the INSIDE of paper.) Only glue an inch on each side at a time, other wise your glue will dry and harden.
Make sure also as you do this that you are keeping paper taught so ends will still line up and you wont get a gap between jar and paper. This will help protect from water dripping down on the inside of paper.


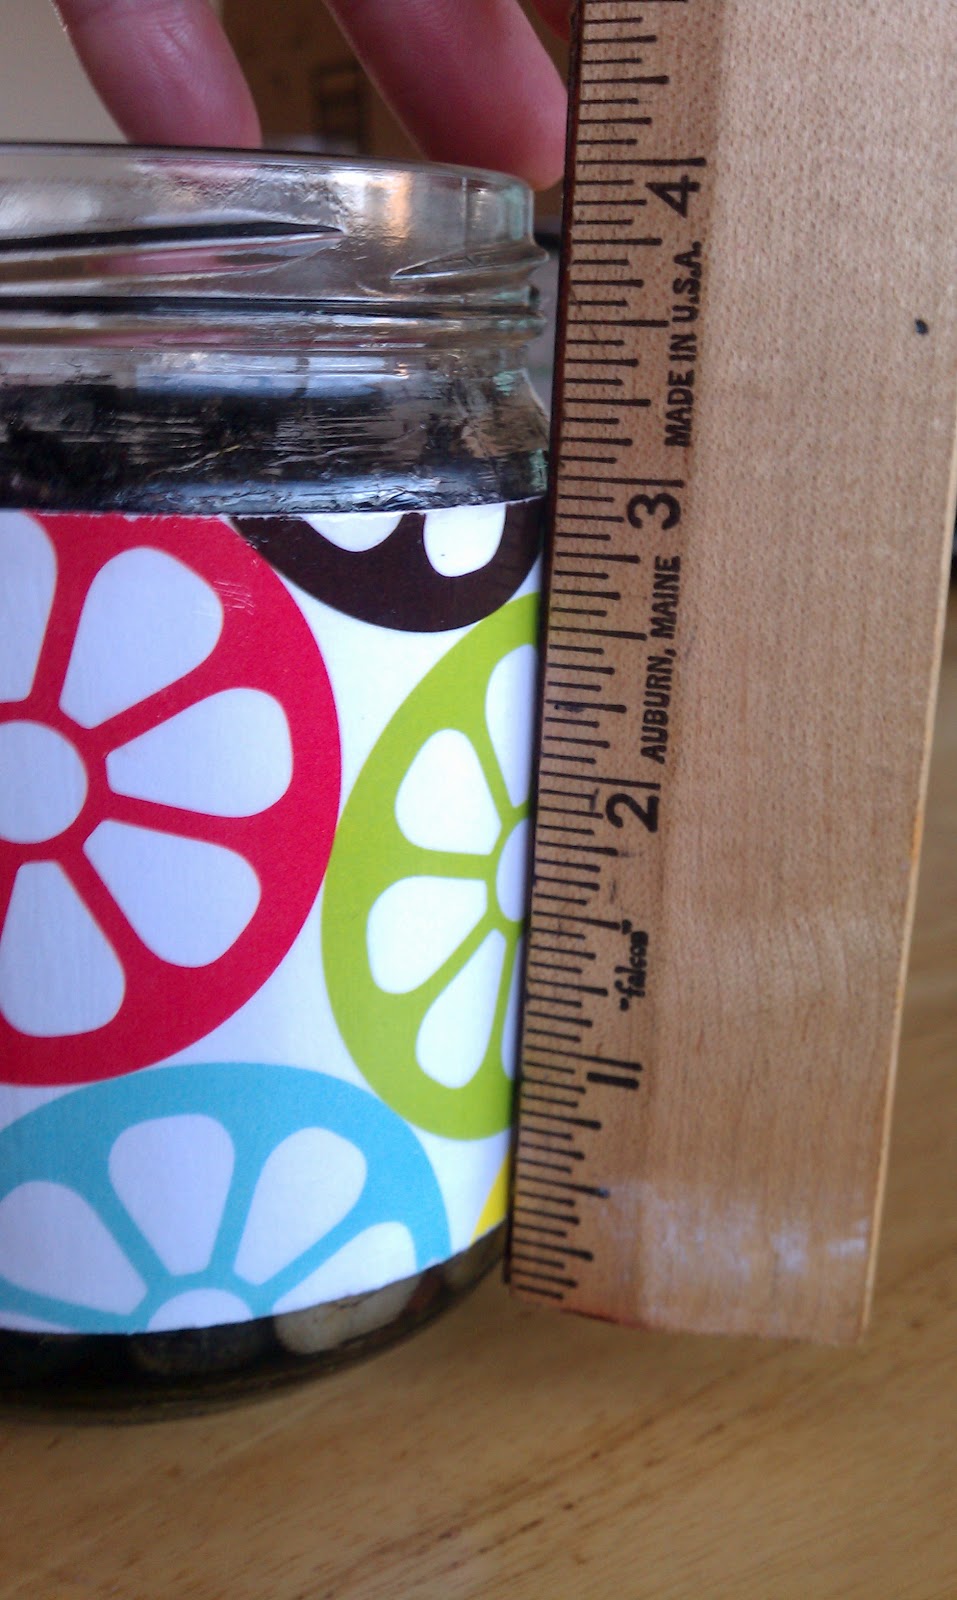
6. Plant: Once Mod Podge is dry add your rocks or washed gravel. For a 4" jar I place about 1" of rocks. This is to aid in drainage of soil.


And Your DONE! Make sure to place in warm area with some sun. Water as seed packet recommends.


Keep Crafting~
Bree & J


No comments:
Post a Comment
Please chat us up!!! We talk alot to each other but we are so simliar it's like talking to ourselves, lol. We use comment moderation to discourage creepy and hurtful comments towards our readers and ourselves.